PLASTER MAGIC IS THE ONLY ONE THAT WORKS! #1


ON THE SUBJECT OF CONVENTIONAL CONSTRUCTION ADHESIVES–

Just because the technical material says it works on plaster doesn’t mean it works inside the dusty historic plaster/lath system. Plaster Magic is the ONLY one that works.

Instruction #1. The fine print says some variation of:
Ensure surfaces to be bonded are clean, dry, structurally sound and free of frost, dust, grease, oil, and other foreign contaminants.
Application: surfaces must be clean, dry and free of foreign materials.
Ensure surfaces to be bonded are clean, dry, structurally sound and free of dust, grease, oil, and other foreign contaminants.

Knowing the plaster/lath system and how the components interrelate over time is important to consider how long your repair will last.

Old buildings expand and contract of the years, often from the effects of temperature and/or humidity. The effect of this movement upon the plaster/lath system is the lath acts like a saw, abrading the plaster (and keys), creating lots of dust and sand. This need to be compensated for in the repair. This is where the Plaster Magic system shines, what it was designed for doing. The surfaces the adhesive bonds to are firm, consolidated, solid and flexible with a soft shoulder (read no shear line). The Plaster Magic system moves with the historic building, keeping the plaster in-place and well attached. Assuming there are no other structural issues, plaster repaired this way will last forever

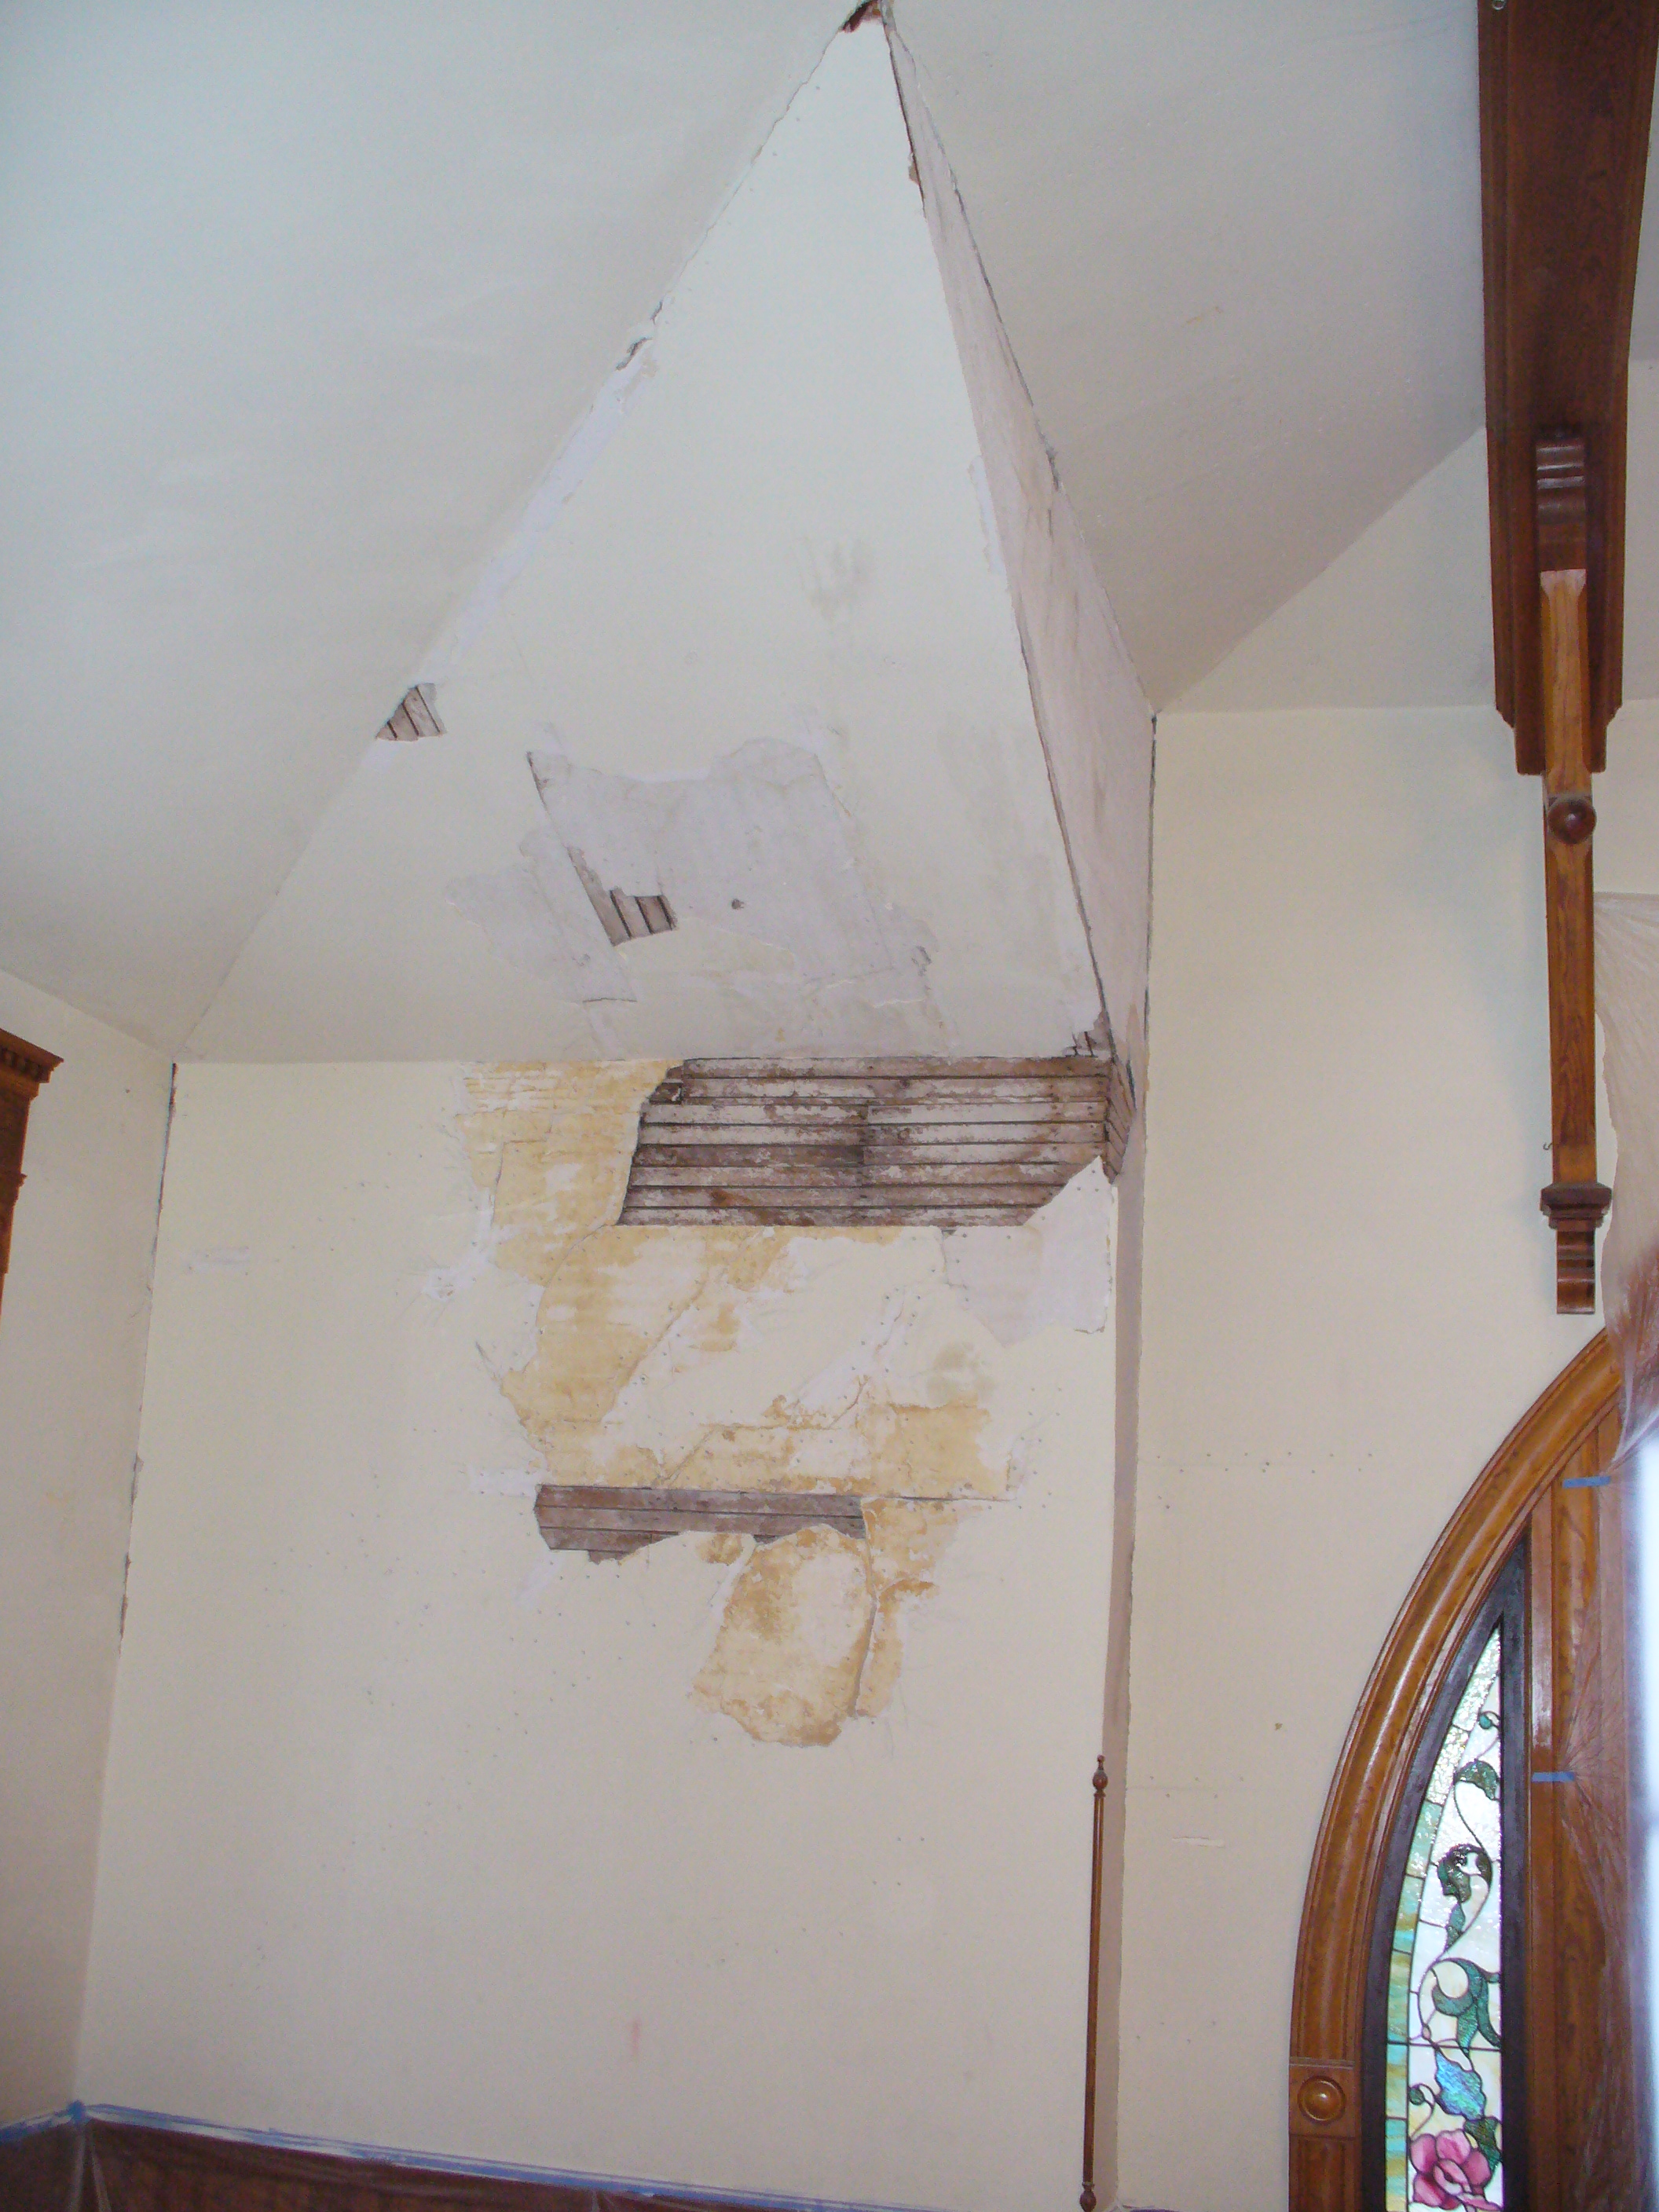
PLASTER MAGIC IS THE ONLY CONSTRUCTION ADHESIVE SYSTEM DESIGNED FOR THE SOLE PURPOSE OF REATTACHING HISTORIC PLASTER BACK TO ITS LATH CREATING A STABLE REPAIR.

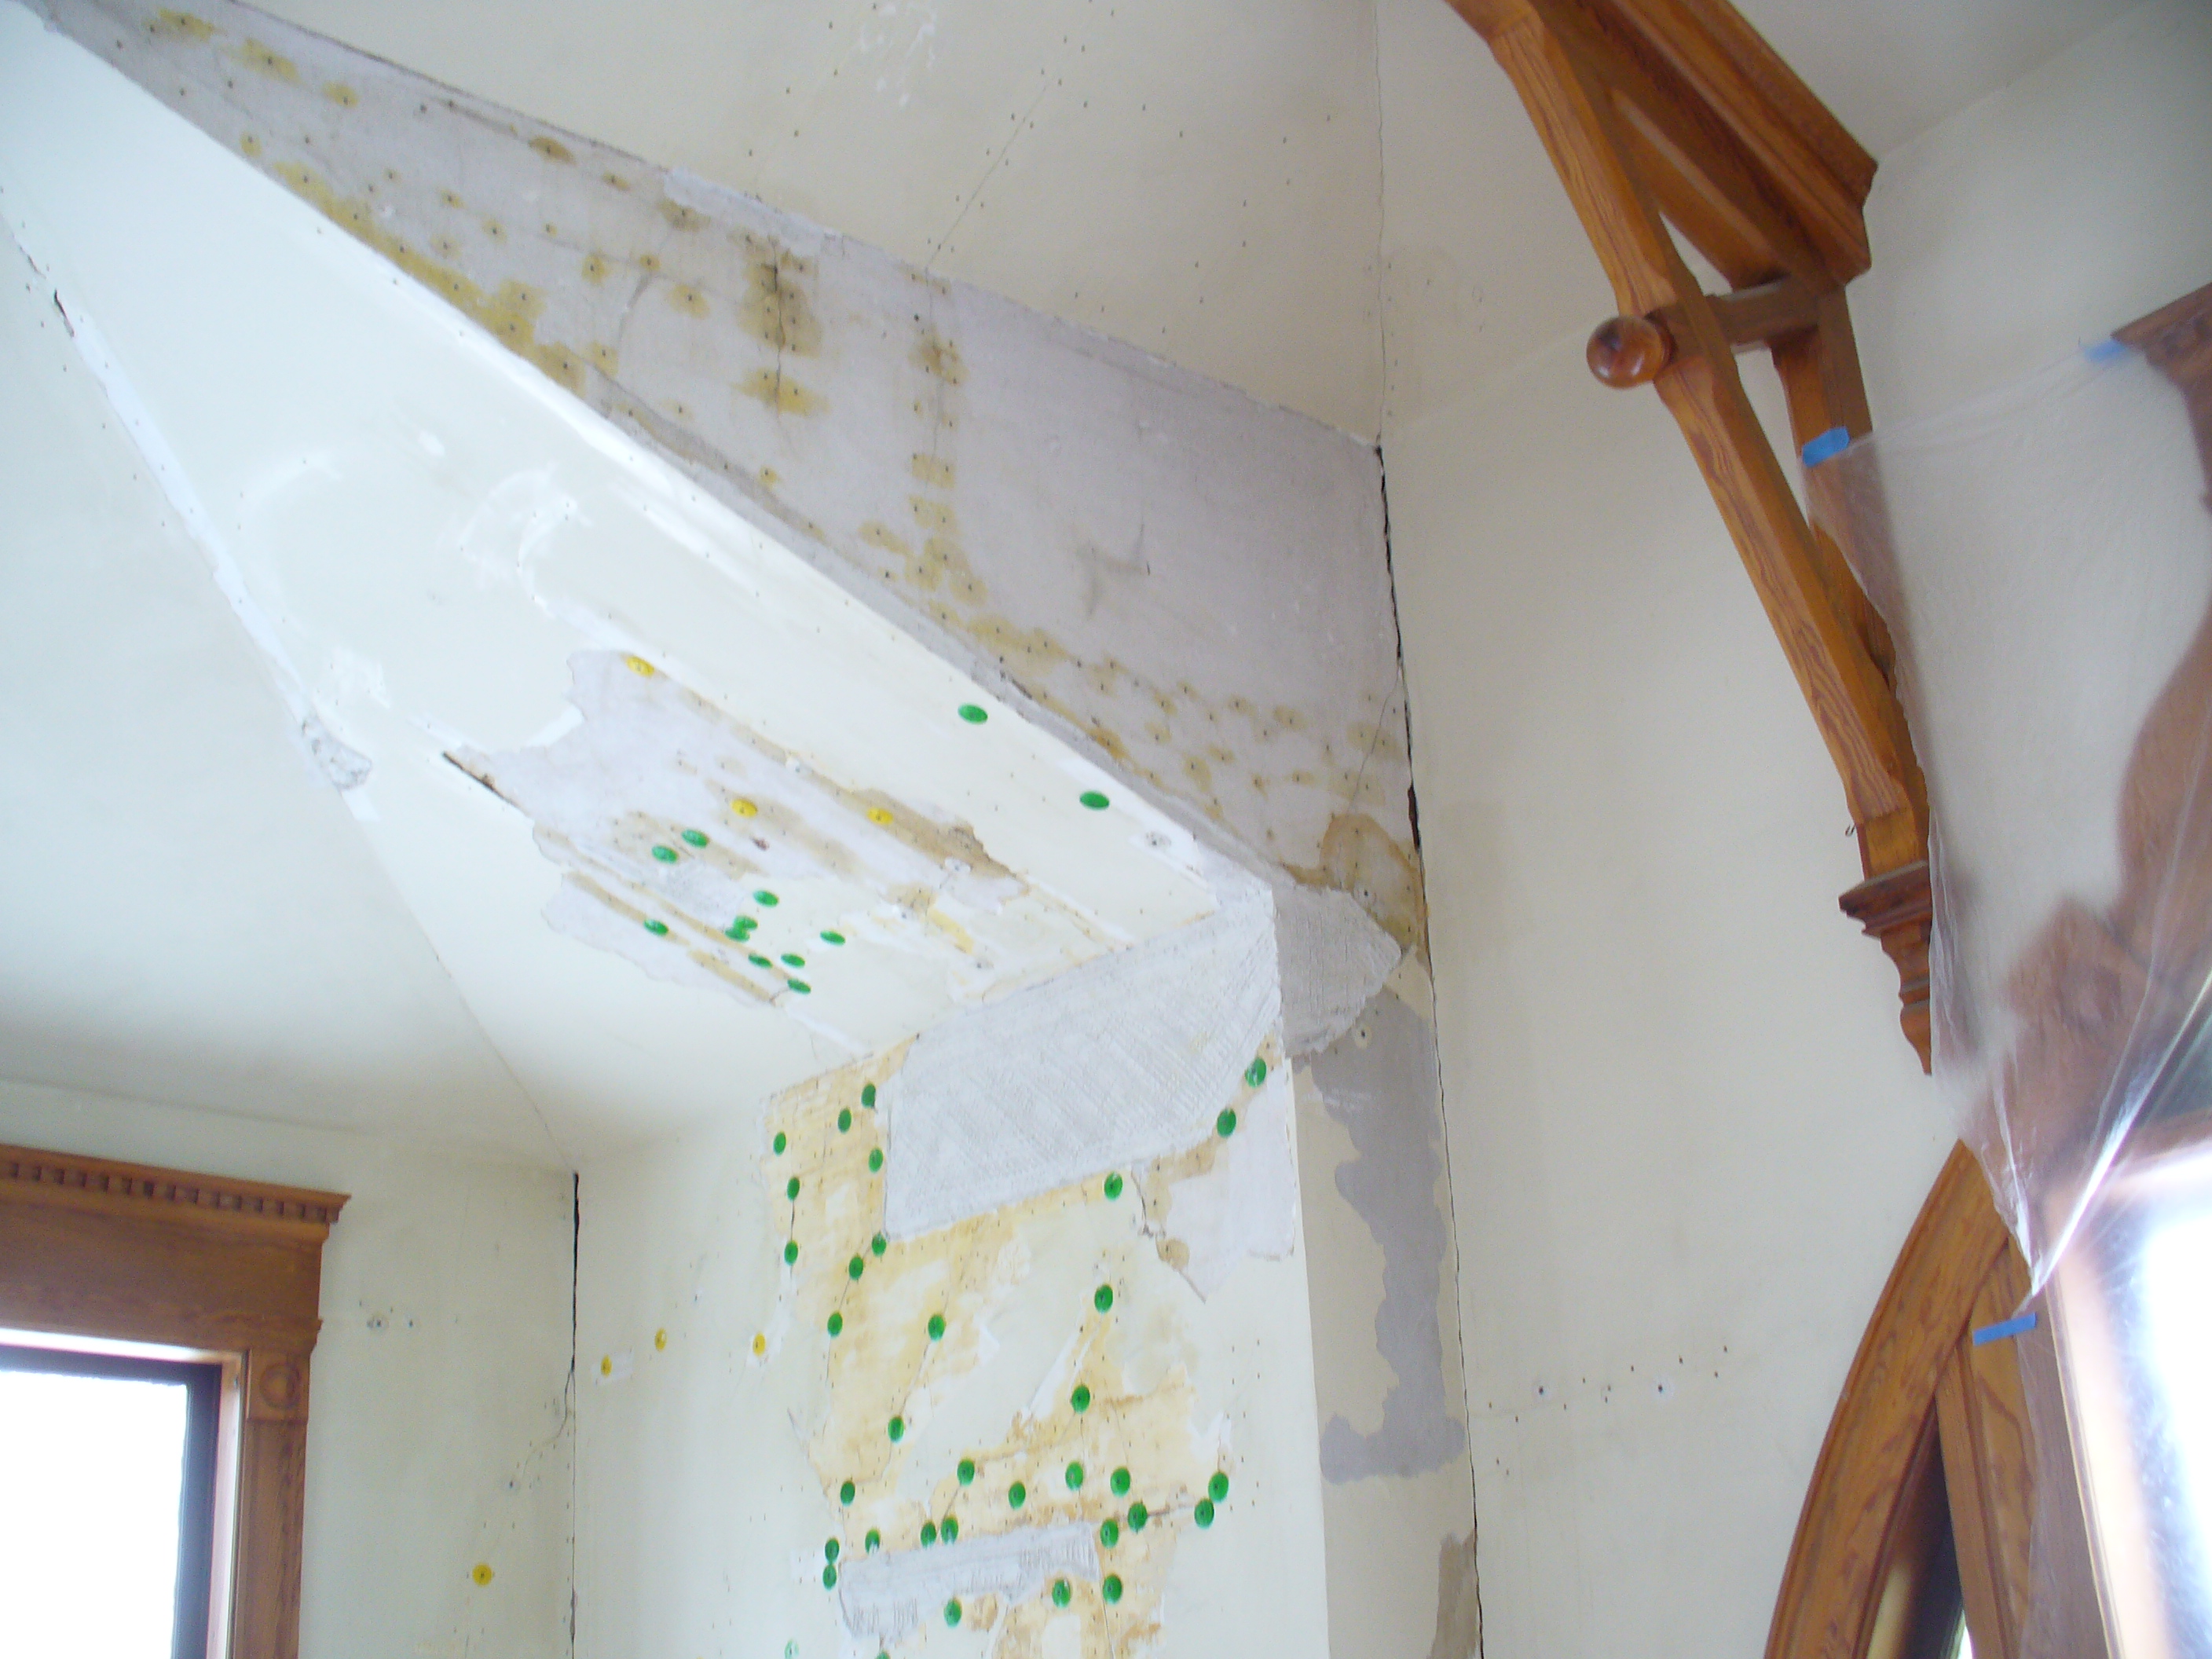
DESIGNED TO WORK IN THE MOST DIFFICULT ENVIRONMENT,  PLASTER MAGIC DELIVERS AS PROMISED.


Watch Rory Brennan on This Old House install a plaster medallion with Norm Abram


Program #2921
Roxbury Project 5 of 10
Saturday, February 27, 2010 at 1:30pm ET (check local listings)

Despite the bitter cold, landscape contractor Roger Cook works with a group of students from YouthBuild Boston to spread soil and put down sod in the backyard. Meanwhile, fence contractor Mike McLaughlin and his crew install a PVC privacy fence along the perimeter of the yard. Inside, master carpenter Norm Abram and lead carpenter Colin Paterson are adding some period charm to the bay window area by installing custom casings and paneling. The house’s existing plaster ceiling medallions were beyond repair, so Norm brings back Preservation Plasterer Rory Brennan to replicate them on site. Fortunately, the originals were nearly identical to the medallions from the Charlestown project years ago, so Rory mixes up some plaster and pours a new medallion from the Charlestown mold. Afterward, they install a completed casting in the front parlor. At the end of the day, the fence is nearly complete and the sod is finished, thanks to our group of intrepid apprentices


Lime Washing and Finishing the Monumento de la Constitucion


Day Six:

Monday we started lime washing the monument. Before that happened we removed the burlap and plastic that protected the replacement plaster (render) as it cured.

The south face in the morning sun

Antwa (the man in the lift) started by lime washing the top piece of the monument from the lift. In the space of the morning Antwa applied two coats of lime wash to the upper part of the monument.

Antwa lime washing the monument

Antwa lime washing the monument

After lunch we applied the first coat of lime wash to the body of the monument over the new and old plaster.

Day Seven:

This was our last day of production. I applied the second layer of plaster to the step between the monument and the granite blocks. Before the project is over one more layer will be applied.

The final lime wash was applied to the body of the monument and the granite blocks received their first layer. Then we cleaned up.

The monument before we started the restoration

The completed monument

Coenraad and Elizabeth invited me out to lunch (being the last day). It was quick back to the B&B for a quick change then off to lunch. On our way back to the plaza we ran into the project manager. He had arranged to have pictures taken for publicity about the Monumento de la Constitucion’s restoration. To say we were not camera ready was an understatement.

As it turns out I was wearing the t-shirt I was given when I worked on This Old House, Newton 2007 . For those of you who are interested in history you might check out This Old House, Charlestown 2000. This was my first project with them.

Coenraad and I posing for the finish shots

After dinner one night I walked by the monument. Because lime wash is so luminescent I wanted to see for myself the night time glow.

Isn't this beautiful?

What a sight!


Using the correct Lime Plaster


Monument de la Constitucion

Day Four:

After two days the first layer of lime render was carbonated enough to apply the second layer of lime/sand plaster.

How was this possible without the render drying out before it cured? The secret is in the lime putty we used. This putty carbonates faster than any other lime putty I’ve used. The lime I use is 98% calcium, has a surface area of 30m2/gram, and an emley rating of 400 (a plasticity rating). The success for quick carbonation all comes down to surface area. The more surface area the lime has the greater the ability of the lime carbonating before the plaster dries out.

Hydrated Lime don't use!!!

Hydrated Lime don't use

This is what mature lime putty looks like!

This is what mature lime putty looks like!

The first layer of plaster was scratched while it was green, two days before.

The first layer is applied.

The second and finish layer of plaster (render) was applied smoothed out and covered until the next day when the corners were straightened and the trowel marks removed.

The finish layer is now on.

The finish layer is now on.

Day Five:

This Sunday was a slow day for working. My job was to trowel the render without overworking it. This took all day. I met some great people walking through the plaza, everyone was in a great mood, wanted to take pictures of the work in progress and wanted for me to take pictures of them. Then my good friend Joe surprised me by showing up at just about lunch time. we went to a little Cuban restaurant, it was great, then toured just south of old town St. Augustine.  Love these porch columns, made from palm trunks.  Who knew.

Look at those palm tree columns

Look at those palm tree columns

Then we went to the veterans’ cemetery where they had monuments, group and personal. It was beautifully maintained, very nice.


More monument plaster restoration


Day three:

Before I go any further I would like to introduce my hosts, co-workers, and restoration general contractors from St. Augustine.

Coenraad and Elizabeth Van Rensburg’s company is Latitudes NE Florida, Ltd. Co. in St. Augustine, Florida. They can be reached at 904-819-0801. They along with their crews do great work and I recommend them to anyone in the St. Augustine area that needs a dependable contractor, and a company that understands restoration.

While we were waiting for the first layer of lime plaster to cure (it is wrapped loosely in two layers of wet burlap and plastic), we have to deal with the monument step. The step is a ring of gray/white granite around the base of the original monument. These granite blocks are very similar to if not identical to the granite blocks that I was told were used in the 1856+/- bridge over to the island. These blocks add a protective surround to the monument.

The granite blocks before we started

Because this step was not original to the monument we had to design a plaster (render) step to make the transition from the monument to the step.

Our test step

This would take days to fabricate because we were making it from the lime/sand render, building it up at 5/16” at a layer.

The first layer goes on...

Now we wait for the render to carbonate in preparation for the second layer.